This one is going to be a lot of pictures because like they say a picture is worth a thousand words. Dad and I worked for a couple of days over the first week of March because I had time off and got quite a lot done. Now you might have seen these pictures before but they are indeed different because as noted in previous posts there were a few problems. Here is what it looks like with those problems fixed...

This is what the main floor structure looks like. Isn't it pretty? That's where all of our big fat butts are going to go. You think we should add more cross pieces? Sorry now we are back on topic here we will talk about some of the details that went into this. So as mentioned before our fender aprons aren't original and so we had to change some things. In the original there is an extra bubble so to speak that attaches to the fender apron and then also attaches in a "z" shape to the main overall board of the floor. Although hard to notice the main board does actually have some curves and angles to it. So we had to modify our angle iron a little bit which you will notice in the picture has my lovely assistant Lydia in...

We have yet to attach the other portion of the "z" which will be the portion that you will see inside of the car. These pieces will go under the car and only be seen if you get under it. Which will probably be more often than I want to.
For most of the time Dad worked on the back of the car. Adding the two outside pieces and the back cross piece. The back cross piece is an invention of my Father's because we did not have the drawings of what it really was. But he is probably really close to what it was. He made the Traveler all off pictures, so we should be okay.


These are the outside pieces you will notice there is a groove. This is for the z bar mentioned above. This way it will sit flat with the rest of the wood. The top part was done with a dato blade and the second picture is hard to see but the upper left portion you will notice another cut out this again is for the z bar. But this was done with a jointer.
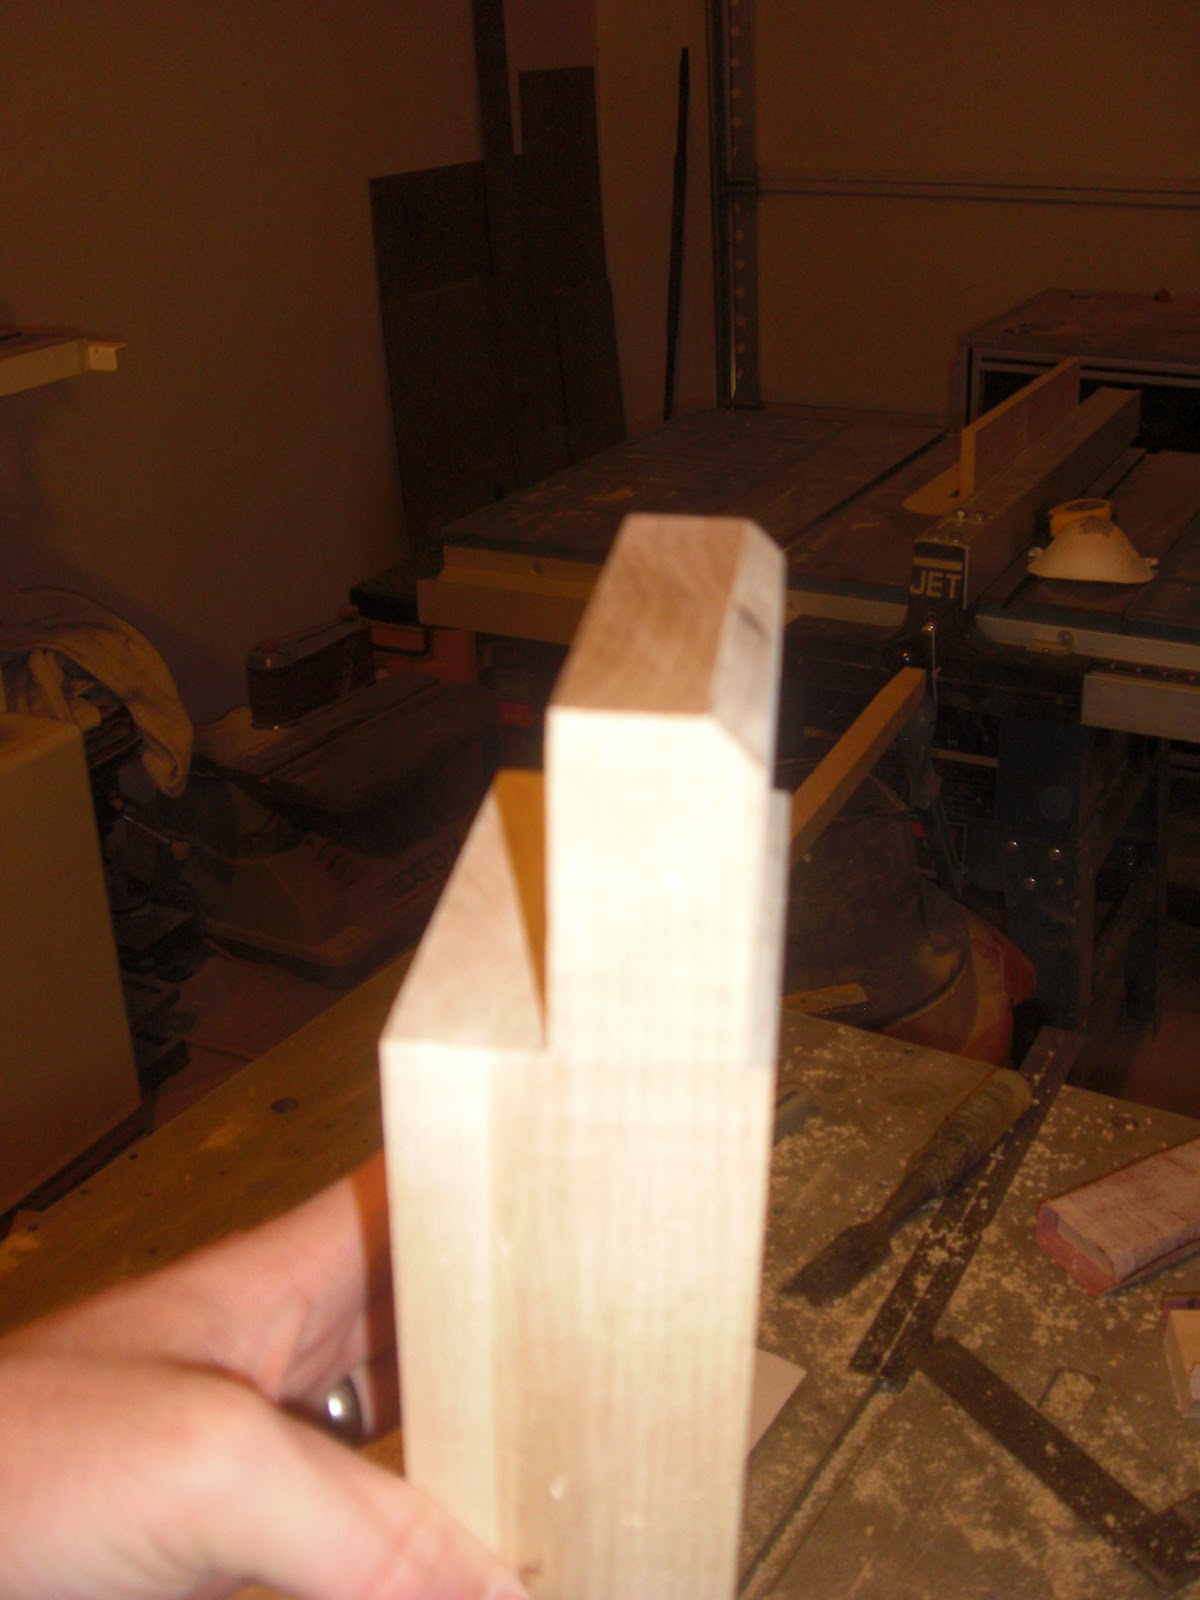
The part that is next to my hand is the cut out for the back cross piece. The top part of it is also cut out because there is an angle iron that goes the full length of the back. This groove allows it to sit flush again with the floor board.


The back cross piece has a cut out that goes under the overall piece and back corner piece which is the picture with my hand in it. The square cut out that is opposite of my hand is fr the floor boards to lay in so that we can screw them in. The last picture shows you how it all fits together.
It's looking good, how exciting! Can't wait to see it! Hope it will all work out so that you can bring it up Ty-kell would love to drive well ride in it! Haha
ReplyDeleteI am with Aimee I so hope this gets done!! It looks like a great big giant puzzle. . .good thing you have such a talented DAD!! ")
ReplyDeletethanks for the pictures...this sure helps me see how this is going together.
ReplyDelete